We do a lot of activities in our house. We’ve had our fair share of activities that have been good. As in, it keeps Emmy occupied and it’s educational but it isn’t a huge hit. We’ve also had some fails (I tried to make playdoh out of yogurt last week. You won’t be seeing a blog post about that one). But every once in a blue moon, we have a knocked-it-out-of-the-ballpark- WINNER. The edible baby sand falls into this category. So does the Jello Dig. And the newest member of the Activity Hall of Fame: The Feel n’ Find Box.
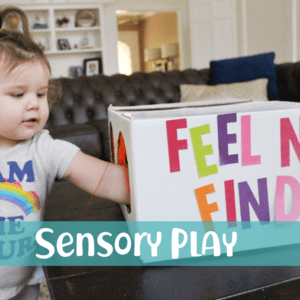
Inside the box are a variety of objects that my toddler can *hopefully* identify by touch. You can see some of the object we used in the first image in this blog post.
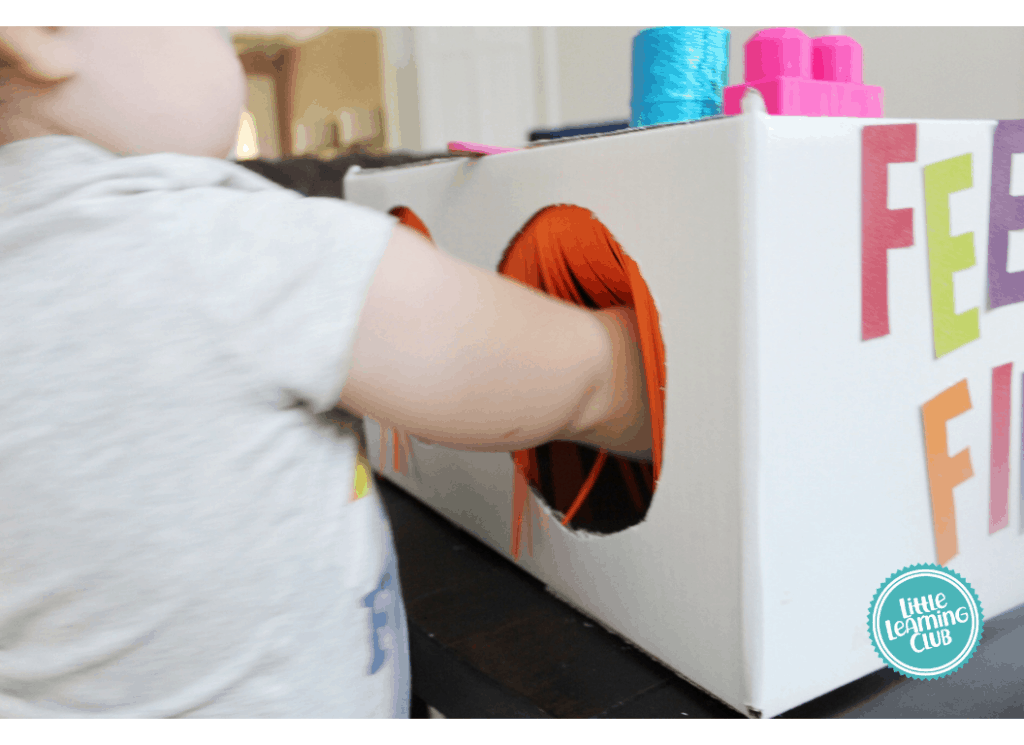
I simply cut two holes in the side of a left over box from our recent move. I made sure to cut them large enough so that Emmy’s hands could fit in comfortably and I could also fit a variety of objects in.
I covered the holes using construction paper that I cut into a fringe like material. Without it, Emmy could see clear into the box. I also super glued the box shut in order to make it darker inside.
What’s GREAT about this activity: you don’t need to make a fancy box to make it happen. You could simply do this with a brown paper bag and smaller objects.
When it came to putting our box to use, we did a variety of activities.
First, we, just let her kind of feel around and pull the objects out to see what it was. Then, we would put them all back in and ask her to find a specific object and pull it out. The we would have her just feel around as ask her “what do you feel” to have her identify the object verbally without actually seeing it. We did about 3 rounds of object on the first day. It was so fun! And to see her little mind concentrating so hard… it was wonderful!
When it comes to object placement, be sure you are selecting objects your child knows by name. Balls, spoons, hair brushes, leggos. Try to keep it between 3-5 objects at a time.
I hope your little one enjoys this as much as mine did!
