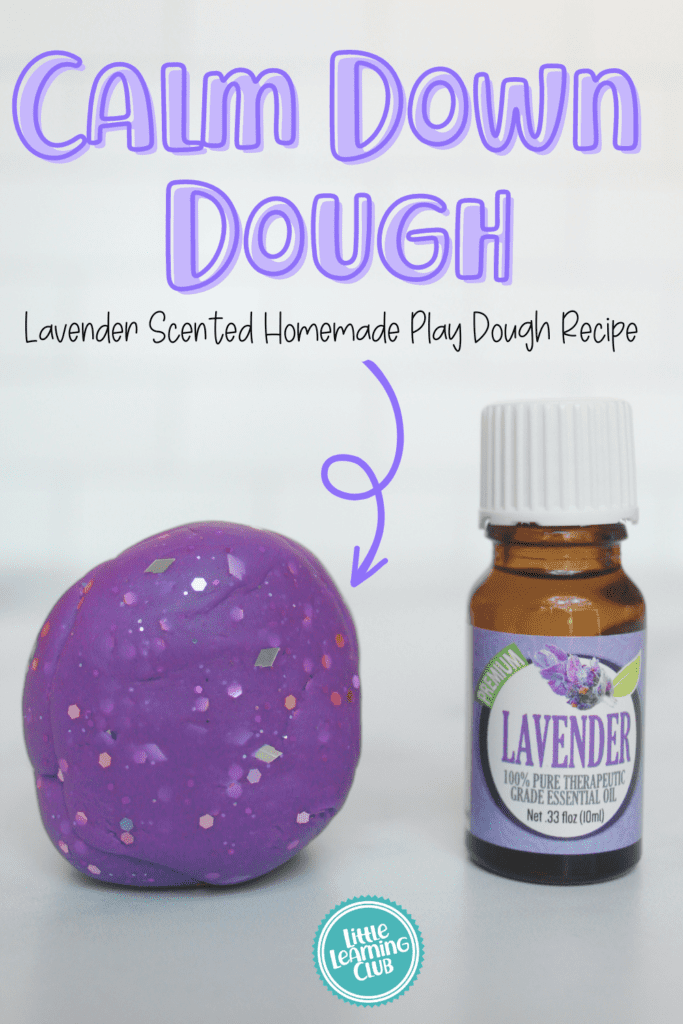
Calm Down Dough: a calming sensory activity
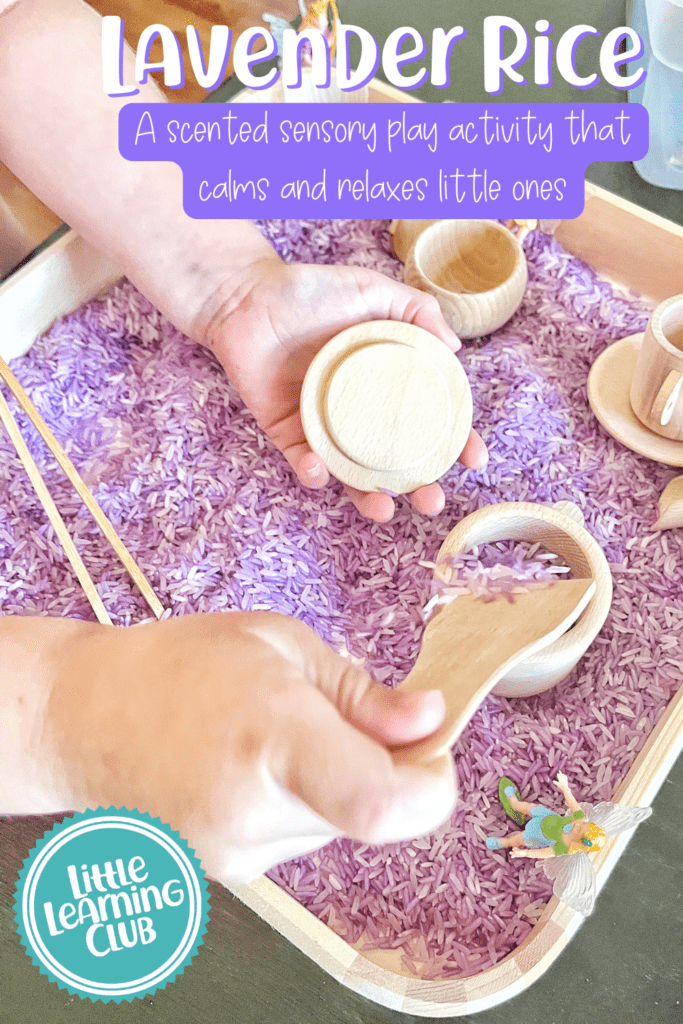
Ever since we made our calming lavender rice, I have wanted to make a similar version with play dough.
What I love most about this calm-down dough is that we can take it on the go with us. Just add a small bit to a ziplock baggie and you have a calming sensory activity ready for whenever you may need it.
Before we jump into the recipe, let’s discuss the benefits of sensory play.
What is Sensory Play?
Sensory play includes any activity that incorporates the five common senses.
Activities that involve movement of the body, such as awareness or position of their body) can also be considered sensory activates. When you think about it, so many activities that our babies do in their day-to-day play could be considered a sensory activity! If you would like to browse all of the sensory activities, we have shared on Little Learning Club, you can do so here.
A few examples of sensory play include balancing while walking on a curb, making moon sand, or doing a taste test of a variety of fruits. Listening to kids audio books is another fun and educational sensory activity!
Benefits of Sensory Play
Creating activities for children to actively use their senses as they explore their world through sensory play is crucial to brain development. Sensory Play helps to build nerve connections in the brain’s pathways. Sensory activities encourages the development of fine and gross motor skills as well as language developments. While they idea of setting up an activity that has THIS many benefits may seem intimidating, it is actually quite simple! The more you research these types of activities, the more you realize that there are opportunities for sensory learning just about everywhere!
How to Make Calm-Down Dough
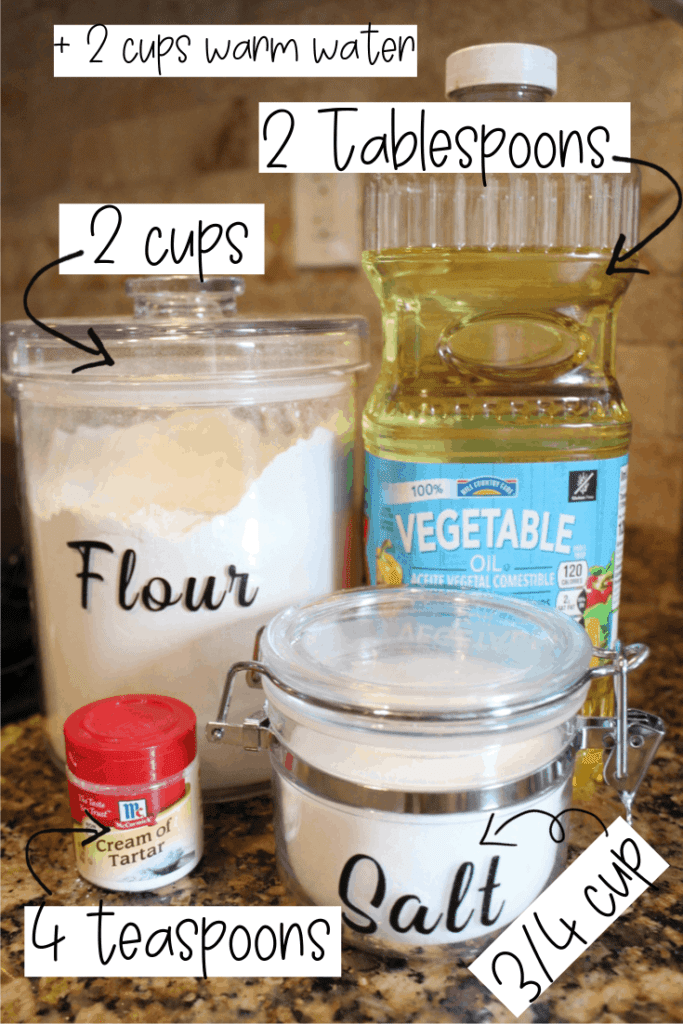
To make the dough, start with our tried and true play dough recipe. I can’t even begin to count how many times I have used this recipe over the past 3 years. It makes a large enough amount that you can make multiple colors and it lasts forever if you store it correctly. To make the dough you will need:
- 2 cups all-purpose flour
- 3/4 cup salt
- 4 teaspoons cream of tartar
- 2 cups lukewarm water
- 2 Tablespoons of vegetable oil
Add the flour, salt, and cream of tartar into a pan on the stove (no heat just yet) and mix well. Next, stir in warm water and vegetable oil. Turn the stove to medium heat and start stirring! I found that using a sturdy wooden spoon was best as it was able to scrape the bottom of the pan as the mixture began to thicken. Continue stirring until you have a solid mass of play dough. Trust me, it can be a bit of an arm workout as the liquid starts to turn to dough, but keep on stirring! Once it was thick and dough-ey, I removed it from the pot and placed it on a sheet of parchment paper to cool.
For coloring, I use gel food coloring from the baking section of Hobby Lobby. Their color selection is HUGE and the coloring is almost always on sale (reg. $1.99 per bottle). A few drops go a long way!
Start by adding a few drops into a zip lock baggie with the amount of dough you want to color. Begin kneading in the color. Once it is partially absorbed and there are no “wet spots” of coloring, you can remove and finish mixing in the color with your hands.
Once you have the color you desire, you can add the scent. I used these lavender essential oil drops from Amazon. I chose to also add glitter to my dough for an additional sensory aspect.
This dough can last quite a long time if stored properly. Store in a ziplock baggie and remove as much of the air as you can before sealing. I have an extra large Tupperware I use to store all of our baggies with the dough in them. It’s just one extra layer of protection to make sure it stays soft for weeks.