The mind of a two year old is such a wonderful thing. Their imaginations are flourishing and their language is developing enough that we get to hear what is going on in that growing little head of theirs. More than that, their motor skills are reaching new levels and are able to take on more challenging activities.
Threading/Sewing Activity

This simple threading activity demanded so much focus from Emmy. Not only was the fine motor aspect of it challenging, but following the series of holes and knowing which one to do next was also a big challenge! Talk about a GREAT hand-eye coordination activity!
I made this by simply using a hole punch on a piece of card board that came from a bake at home pizza. I also placed a small amount of tape around the tip of the string in order to make it easier for her to thread.

As with most of our activities, I did sit with Emmy though the first round of “sewing”, as she began to call it. We talked through how you have to push the string through first, then pull it tight. I kept repeating that same verbal series to her…push it trough, then pull it tight” and she began to repeat it back to me. After we completed the circle, she asked to do it again. I unthreaded and left her solo to work through it on her own. She repeated the push-pull phrase until she completed the circle on her own!
Printable Activities

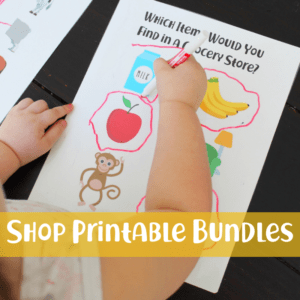
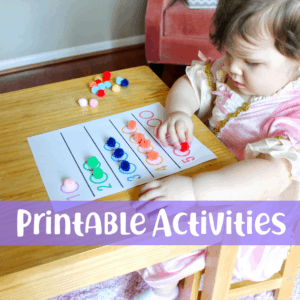
We a HUGE fans of printables. Not only do they keep our toddler entrained and engaged while bringing in educational aspects, but they are a great way to work those fine motor skills and early handwriting skills.
I’ve created a bundle of 12 toddler printable worksheets that have a variety of educational aspects. You can check out all the sheets in the bundle here.
Layered Tape Pull

Layered tape pull is a great activity to challenge your kiddos mind! I made this by layering two colors of masking tape on a table (the glittery tape made this even more enticing for out girl!). This could be done with even more colors or just one color, which would be extra challenging!
After I layered the tape, I explained to Emmy what the goal was… to pull up the top piece of tape. She pulled up a few pieces and realized they were stuck under others. When this happened, I would show her where it was stuck and she slowly started to catch on. I backed away after a few attempts on her own and let her take it from there. We saved each of the pieces of tape and were able to re-use them and do the activity a second time!
Sensory Bins

When it comes to sensory bins with your two year old, there options are pretty endless!
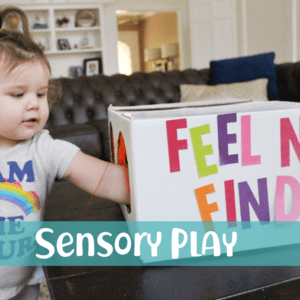
Let’s start with our sensory table. We purchased the IKEA FLISAT this past January and have used it almost daily since then. The table comes with covers that go over the bins so it can double as a flat surfaced table as well. IKEA also has matching chairs for the table as well.
When it comes to what to put in your sensory bins, Pinterest is the best place to find ideas. A few of our favorites have been:
-Bean Scoop (pictured above)
-Straw Threading Station (See post here)
-Pouring Station
Your best place to find sensory bin activities is PINTEREST! There are so many great ideas for kiddos no matter what their interest are!
Memory Matching Game

This memory matching game is a great way to challenge your two year old mind!
We started this game with only 4 cards (2 matching pairs) face down. I found it easier to do the game myself with Emmy right by me and explain each step I was taking. “Flip over one card, look at the image and remember what it is… it’s a sun. Now place it back down to where you can’t see the picture. Now let’s flip over the next card to see if we can find the second sun…” and so on. Once I found my two matches, I let her do it on her own while I talked through it with her.
We slowly increased to 3 sets of matches and then 4.
I’ll be honest- we play this game ALOT! Emmy really enjoys how challenging it is and is always very proud of herself when she finds a match!
Little note on this activity: I laminated the cards and ended up putting them in Emmy’s restaurant kit and they are the PERFECT activity to take to dinner! It’s fun for us to do together and keeps her super entertained!
You can download the free printable memory matching came here.
I do suggest either printing it on cardstock if you have it. If not, add construction paper to the back of the cards so they are not so transparent.
Moon Sand

Moon Sand is an activity that we have repeated about a dozen times in our house! And it also happens to be the most popular activity on Little Learning Club!
Moon Sand has the same effects as kinetic sand in that it sticks together when molded. If your kiddo is past the point of putting everything in their mouth, then the moon sand can be made using flour and baby oil.
If you are looking for a taste safe version, you can make your Moon Sand using flour and coconut oil.
We store our moon sand in a Tupperware container and it has lasted up to a month!
For more details on the recipe details, so our Moon Sand Recipe post.
Bubble Wrap Stomp

Another great activity that came from recycled material! As saved a long strip of bubble wrap from a delivery box and taped it to the floor. We turned on some kids songs on and Emmy danced and stomped her little heart out!
At one point, Emmy did grow pretty interested in the workings of the bubble wrap and ended up laying on her tummy and popping them by hand… which we were totally ok with! This doubled as a fine motor activity once she was working to pop the bubbles with her fingers.
Toilet Paper Threading
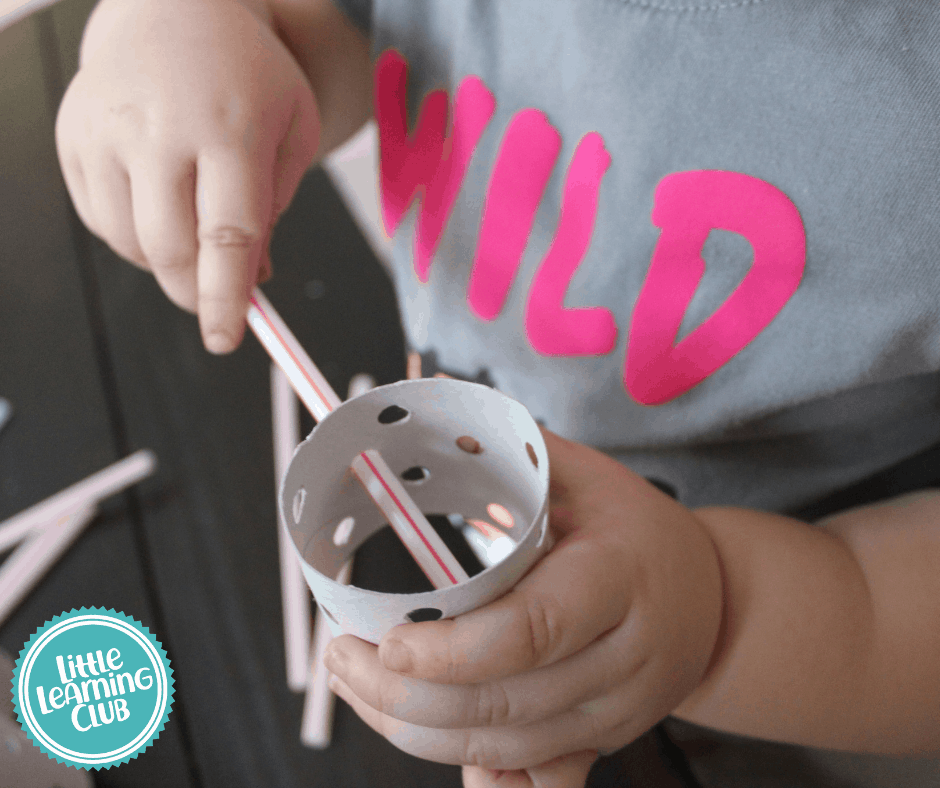
Can you tell we are fans of recycling items for activities in our home?
This activity was easy to set up- just a toilet paper roll cut in half and punch holes. This was extra challenging for Emmy because not only did she have to get the straw through the first hole, but she them had to maneuver it to get it through a second hole.
This is another great activity you can save once they complete it and bring it out at a later date.
Play-Doh Impressions

Play-doh Impressions is such a great low-prep activity! I rolled out the play-doh and picked out items that I knew would leave a unique impression. I gathered them in a basket and started the activity by handing them to Emmy one by one. She slowly pressed them all into the pay-doh and would feel the impression with her fingers. Once she had made all the impressions, we went back through and looked at each one on the play-doh and identified them. I would point to an impression and ask her “which on made this?”.
After we did that it turned into her just playing with the play-doh for another half an hour and pressing random objects into it- but it sure kept her occupied!
Animal Puzzles

To create these animal puzzles, I simply printed out the images and cut through them in various patters.
If you want to make this even more challenging for your little one, you could cut the animals into 3 or 4 piece puzzles.
You can download the animal graphics I used here. I would definitely suggest printing on cardstock to keep the paper from curling.
Ballon and String “Baseball”

I have yet to find a better energy burning activity for my toddler than toddler baseball! It is as simple to set up as it looks… sting, tape, balloon and a “bat”. We often for a pool noodle but a paper towel roll or stick would do just fine!
